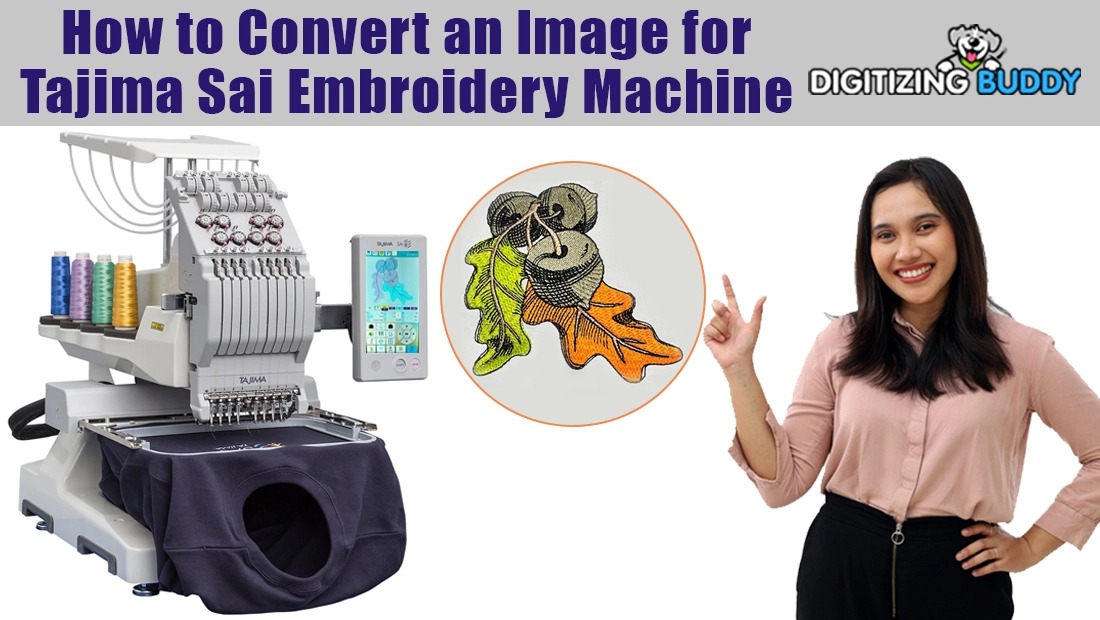
You have a stunning design ready to become embroidered reality. The crisp lines, the perfect colors, the brilliant concept—it is all there. But if your destination is a Tajima Sai embroidery machine, you have discovered there is a crucial step between your digital image and that first perfect stitch. Your Sai machine operates with incredible precision, but it requires a specific digital blueprint to follow. This is not a simple file conversion; it is a translation from the visual language of pixels to the mechanical language of stitches. To bridge this gap successfully, you need to understand how to convert image for Tajima Sai.
Understanding the Sai Machine’s Language
The first thing to know is that you cannot simply load a JPEG or PNG onto a USB drive and plug it into your Tajima Sai. These common image files are made of pixels—tiny squares of color that form a picture on a screen. They are passive and visual.
Your Tajima Sai machine, however, needs an active set of instructions. It needs to know the exact path for the needle, the type of stitch to use for every single element, the sequence of colors, and when to trim the thread. The file formats it understands, like .DSB or .DST, are essentially complex sewing recipes. The process of creating this recipe from your image is called digitizing, and it is the key to unlocking your machine’s potential.
Preparing Your Image for Success
The quality of your final embroidered design is directly tied to the quality of the image you start with. A little preparation goes a long way in ensuring a smooth conversion and a professional-looking stitch-out.
Always begin with the highest resolution image possible. A clear, sharp picture with distinct details gives the digitizing software a strong foundation. Simple, bold designs with clear outlines and minimal colors convert best. A complex, photorealistic image with subtle shadows will be very difficult to translate into clean stitches.
Before you begin the conversion process, simplify your image. Use a basic photo editor to remove any busy backgrounds. Convert your color image to black and white to check if the core shapes remain strong and recognizable. This step helps you identify the essential elements that will stitch well. Remember, embroidery is an art of bold representation, not photographic replication.
Choosing Your Conversion Path
You have several routes to get your image into a format your Tajima Sai can read. The best choice depends on your budget, your technical skill, and how often you plan to do this.
For a one-time project or for those who prioritize guaranteed results, using a professional digitizing service is an excellent option. You send your image to an expert who specializes in creating files for industrial machines. They handle the complex work and send you a ready-to-stitch file. This is the best way to ensure a high-quality result for an important logo or complex design.
If you are a hands-on creator, investing in professional digitizing software is the way to go. Programs like PulseID or Tajima DG are the industry standards. They give you complete control over the digitizing process, allowing you to manually assign stitch types, densities, and sequences. The learning curve is significant, but the creative freedom is unparalleled.
A third, riskier option is online auto-digitizing tools. These platforms use an algorithm to generate an embroidery file from your image. While fast, the results are often unreliable for a machine as precise as the Tajima Sai. They can create inefficient stitch paths and poor underlay, leading to a subpar stitch-out.
Key Digitizing Principles for the Sai
Whether you are digitizing yourself or evaluating a service, understanding a few core principles will help you achieve a better result. It all starts with the underlay. This is the foundation of your design, stitched before the top stitches. It stabilizes the fabric, prevents puckering, and helps the top stitches look smooth. A good digitizer uses a edge run underlay to outline shapes and a zigzag underlay for stability in large areas.
Next is stitch type selection. Satin stitches, with their glossy, column-like appearance, are perfect for text and fine details. Fill stitches, which use a back-and-forth pattern, are ideal for covering larger areas. A professional-looking design often uses a combination of both. The digitizer also carefully plans the stitch direction and sequence to minimize thread trims and jumps, which is crucial for maintaining the Sai machine’s high-speed efficiency.
The Non-Negotiable Test Stitch-Out
Your work is not complete when the file is saved. The true test of a successfully converted image happens at the machine. Before you stitch on your final garment, you must run a test.
Hoop a scrap piece of the exact same fabric you plan to use for your project, along with the correct stabilizer. Stabilizer is essential; it provides the backbone that keeps the fabric stable during the high-speed stitching process. Run the file and observe the machine.
Watch for any signs of puckering, thread breaks, or misaligned elements. This test run provides invaluable feedback. If there are issues, you can go back to the digitizing software, adjust the density or underlay, and create a revised version of your file. This iterative process is how professionals achieve perfect results.
Converting an image for your Tajima Sai is a detailed process that blends technical knowledge with an artistic eye. It is about translating a visual concept into a structured, mechanical reality. By starting with a high-quality, simplified image, choosing the right conversion path for your needs, and embracing the testing phase, you can confidently create files that leverage the full precision and power of your machine. This understanding transforms you from an operator into a creator, capable of producing embroidered work that is as flawless in execution as it is in concept. So, prepare your image, and get ready to stitch with confidence.